
Using tcpdump
You can use this lab to familiarize yourself with the tcpdump command.
Prerequisites. Launch a terminal within a Linux operating system. If you’re not sure how, follow the steps in the study guide to do so. These steps also require the use of Kali.
Note: The purpose of this lab is to give you some experience with tcpdump. Feel free to use the available help to dig into tcpdump’s capabilities a little deeper.
1. Enter the following command to view the manual help page for tcpdump:
man tcpdump
You’ll see the help page for tcpdump, similar to what you can see here:
Note: Linux commands are case sensitive. If you enter Man Tcpdump (or any other combination of upper case and lower case letters), the command will fail.
2) Enter the following command to view available interfaces on your system:
tcpdump -D
3) Enter the following command to listen for any traffic on your interface:
tcpdump -i any
4) Start Firefox and enter the following URL: blogs.getcertifiedgetahead.com.
You will see packets displayed in the terminal.
5) Press CTRL + C to stop the packet capture.
6) Enter the following command to redirect the output to a capture file called dump_capture: tcpdump -i any -w dump_capture
7) Refresh the browser page to generate traffic.
8) Return to the terminal and press CTRL + C to stop the packet capture.
9)Use the following command to view the dump_capture:
tcpdump -r dump_capture
10) You can also view the capture in Wireshark.
Return to the terminal and enter the following command:
wireshark
11) Select File -> Open.
Select dump_capture (capture file you created earlier) and click Open.
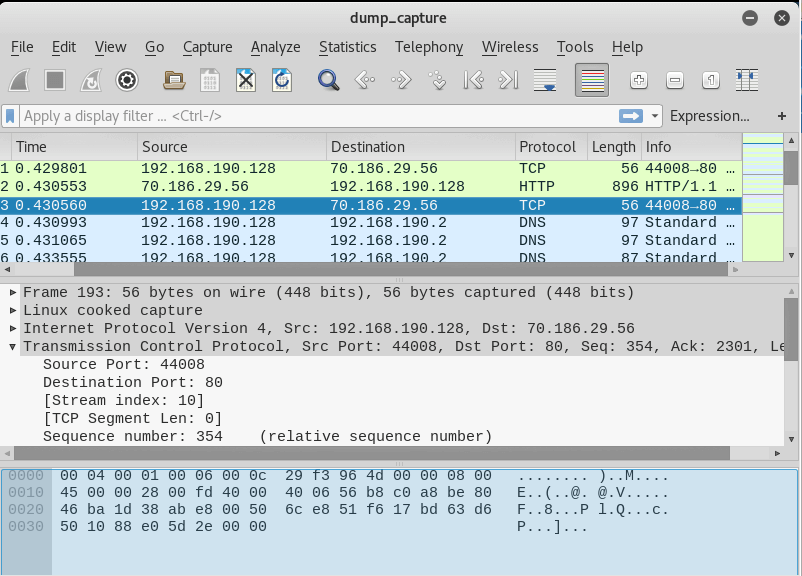
Feel free to look around the packet capture, but the primary point here is that you can capture the packets with the command line tool tcpdump, and later view the capture with Wireshark.